 Hand Rejuvenation with Dermal Fillers
All
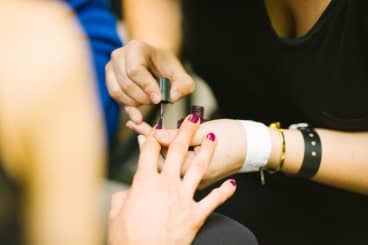
Why Press-On Nails Are The Key To An Amazing At-Home Manicure
Not your mom’s manicure, press-ons have enjoyed a major upgrade.

When I got my first set of acrylic nails at the tender of age of 16 (I’m from Jersey, so that should explain it), I had no idea the day would turn into years of salon visits, hours of research for new designs, and, of course, the endless times I entertained myself by rapping my nails on the sides of desks and tables to hear that reassuring tap-tapping sound.
The start of COVID-19 stay-at-home orders came right after I had gotten my nails done, so I was able to hang on for about a month or so until I had to soak my hands in acetone and ponder my next step. Sure, nails are nowhere near as important as your physical or mental health, but my nails are an important part of me, and I knew heading into a nail salon wouldn’t be in the cards for a while.
Enter press-on nails. While my previous experiences with them had sent me running back to acrylics, I was short on options and decided it was worth a shot. Going in, I believed that press-ons were boring, ill-fitting, and wouldn’t stay on, yet I found myself pleasantly surprised to learn that press-on nails have come a long way. Brands are now offering cool designs, improved sizing, and better glue. After ordering from and falling in love with Nail Candy Press-Ons, I even became a brand ambassador.
My years of nail experience definitely came in handy when I switched to press-ons, but some nail newbies may need a little direction to get a secure and long-lasting application. Read on to learn everything you need to know about at-home press-on nails.
How to Prep Your Nails for Press-Ons
The most common mistake people make when applying press-on nails? They don’t prep their nails first, says Yewande Moore, founder and CEO of Nail Candy. Think about it: When you head to a nail salon to get acrylics, gel nails, or just a regular manicure, there’s a lot of prep that needs to happen before a drop or nail polish or glue touches your nails, and it should be the same for press-ons. Here is how to up your press-on prep game:
- Find Your Fit: Test the press-ons and make sure they fit your natural nails. While most nail brands either offer custom sizes or include an array of options in each set, you may need to gently file down the sides for a better fit.
- Buff the Back: Lightly buff the back of each press-on nail with a buffer. This step is not necessary for nails that come with adhesive.
- Clean Your Nail Beds: Remove any nail polish on your nails, then file and cut them down as needed.
- Care for Your Cuticles: Push your cuticles back to ensure maximum surface area.
- Buff Your Beds: Gently buff the surface of your nail to remove excess oils or lotions and create a rougher surface for the nail to stick to. Some press on kits may also come with an acetone prep pad that will help remove any remaining residue.
Now that you're prepped and ready to go, it’s time to learn about the application process.
How to Apply Press-On Nails
Timing matters when it comes to putting on press-on nails. As Moore explains, applying your nails before bed will allow them to completely set before you resume normal activity and get your nails wet. Depending the brand you choose, your press-on set may come with glue, prefabricated adhesive tabs, or both. My personal preference is to skip the tabs and go for the glue — even if you only plan on wearing your nails for a short period of time — as glue offers more security. With that in mind, here’s how to apply your nails:
- Apply a light drop of glue to both the center of your nail bed and the press-on nail
- Line up the press-on nail, starting at the base of your natural nail and then press down
- Hold pressure for about 15 to 20 seconds to ensure it’s secure
- Alternate hands when applying your nails for better control (i.e. don’t apply one hand and then the other)
When it comes to glue, Moore notes that people tend to use too much. While you may think you’re extending the life of the manicure, she recommends a “less is more” approach (as outlined above) for best results.
How to Remove Press-On Nails
Depending on the type of nails and your lifestyle, press-on nails can last upwards of two to three weeks. You’ll know it’s time to remove them when they start to lift slightly. It’s important to remove them once you feel them lifting, as strands of hair, water, and other debris can enter and further soften the glue. We’re breaking down how to remove press-ons safely:
- Soak Them Off: Soak your nails in a bowl of warm water for five to 10 minutes (note: it can take longer if the glue underneath your nail is still hard).
- Add Something Extra: Brittney Boyce, celebrity nail artist and founder of Nails of LA, recommends rubbing something emollient, like coconut oil, on your nails to aid in removal.
- Side to Side: As you soak, gently move the press-on nail from side to side (without force) to avoid damage.
- Remove Remaining Glue: Once the nails are off, lightly buff your natural nail to remove any excess glue.
- Avoid Acetone: While acetone soaks remove gel polish and acrylics, they will damage both your natural nail and the press-on nail so you can’t reuse them.
It's important to be as careful removing your press-ons as your were applying them. When not removed properly, press-on nails can damage the natural nails and, in extreme cases, rip them off completely.
How to Take Care of Your Nails Between Press-On Applications
We’ve all heard the myth that you need to give your nails a break in-between polishes or press-on applications so they can repair and ‘breathe,’ but Boyce says that old wives’ tale is not entirely true. “Taking breaks in between press-ons are not necessary, as long as you are gentle when removing them,” she shares. In fact, using press-on nails the right way may even have a positive effect on nail health. “If you already have weaker nails that tend to break more often, using a press-on nail well acts like a barrier and protects your natural nails from cracking and breaking,” she adds.
<relatedcontent title={why nail care is the new skincare} slug={how-to-treat-damaged-dry-brittle-finger-nails} />
After taking off your press-ons, you should wash your hands and apply cuticle oil and hand cream to lock in moisture. Cuticle oil and hand cream should actually be part of your daily routine regardless, as the delicate skin on your hands and around your nails is prone to aging and dryness.
Editor-Approved Press-On Nails to Try Now
Since you are now a pro at applying and removing press-on nails, it’s time to get you a fresh set to experiment with. Below, five editor-approved picks for the ultimate at-home manicure.
Nail Candy Press-Ons in Jolly Ranchers
 Nail Candy specializes in unique sets. In addition to the bold colors (we’re partial to this pointy plum), the brand offers eight different shapes and lengths and custom sizing, so you can rest assured that your nails will feel like they were made just for you. $20, nailcandypressons.com
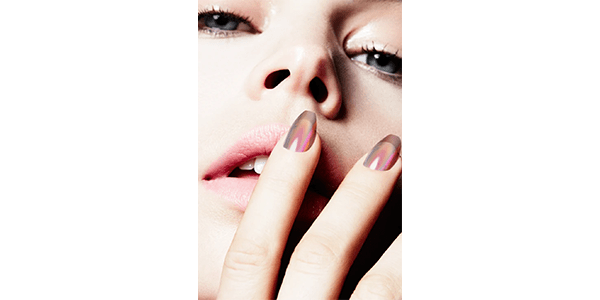
Nails of LA Press-On Extensions in The Muse
 Perfect for those seeking a more natural look, Nails of LA sets provide subtle — but no less gorgeous — results. We’re partial to this gold-flecked neutral nail art in the brand’s signature oval shape. $16, nailsofla.com
KISS imPRESS Color Press-On Manicure in Taupe Prize
 With 30 nails, no glue, a cuticle stick, nail file, and the all-important prep pad included in every kit, KISS has seriously revamped its press-on offerings. A slimmer silhouette and super hold adhesive technology keeps nails in place longer, which is great considering how much you’ll love the new nail shapes, colors (hi, solids!), and designs available. $7, ulta.com
Static Nails in Smoke & Mirrors
 Sure, the reusable nail brand is known for its distinctive designs (how cool is this transparent holographic option?!), but its proprietary nail glue is famous in its own right. The formula, which comes in every Static Nail set, bonds like an acrylic but dissolves as you wear it for easy (read: non-damaging) removal. $16, staticnails.com
ManiMe x The Hang Edit in Rise & Bloom
 Part sticker, part press-on, Mani Me offers stick-on gel manicures that are 100 percent custom-fit to you. Simply scan your hands, choose your design (we love this floral by celebrity nail artist Hang Nguyen), and wait for your 10-free stick-ons to arrive. Because they are custom cut for your nail shape, application takes 10 minutes or less and results last for 10 to 14 days — no glue, adhesive, or UV lamps required. $25, manime.co
Must-Have Nail Tools
The key to a long-lasting press-on manicure? The right tools. Here’s what to add to your kit to maximize results.
ORLY Breathable Cuticle Oil
 This cuticle oil features a blend of nourishing argan oil, jojoba oil, and vitamin E to revive both your cuticles and your nails. $15, orlybeauty.com
JAPONESQUE Velvet Touch Cuticle Remover
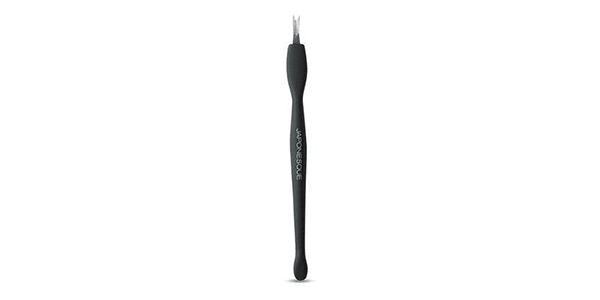 Use the blunt side of this dual-sided cuticle pusher and remover to push cuticles back. You can then carefully remove any excess cuticles with the V-shaped end. $3.99, walmart.com
Beauty 360 Nail Finishing Buffer
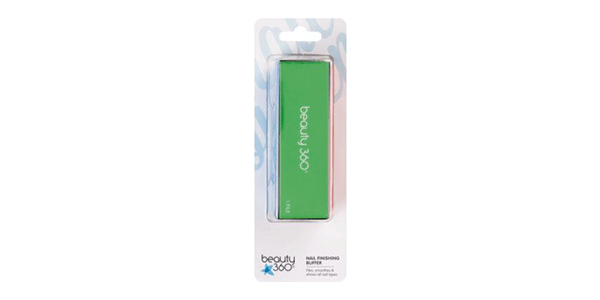 We’re all for tools that multitask, and this four-sided buffer can file, buff, and shine your nails. Plus, it has a cushioned core for a gentle feel. $3, cvs.com
5 Second Brush On Nail Glue
 While most press-on kits come with glue, it doesn’t hurt to have some extra on hand at home. One reviewer calls this pick the “only glue” they’ll ever use. $4, walgreens.com
All products featured are independently selected by our editors, however, AEDIT may receive a commission on items purchased through our links.
TÉMI ADEBOWALEis an editor at AEDIT.
More Related Articles
Related Procedures
Hand Rejuvenation with Dermal Fillers Hand Rejuvenation with Fat Transfer
 Laser Hand Rejuvenation
